LCS Laboratory laboratory offers ready-to-use sampling kits for Air Quality Testing. The kits are built in strict compliance with Industrial Hygiene practice and are designed to deliver the highest quality results. The kits are of professional grade, and require some practical skills in order to collect quality samples.
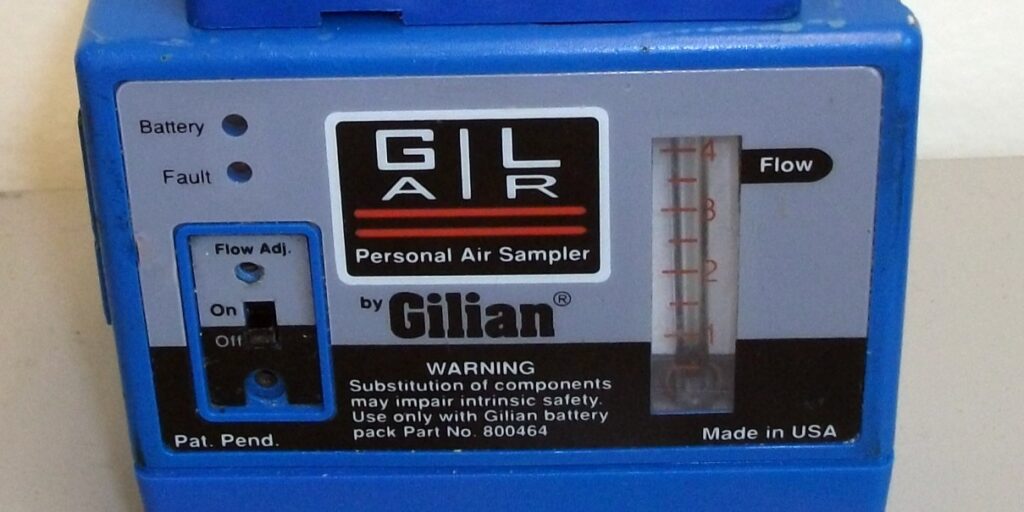
In this article we explain how to assemble a sampling train to collect vapours from ambient air. LCS laboratory will provide you with pre-calibrated air sampling pumps, tubings and adsorbent tubes. When you receive the order, please check the content and make sure that you have everything you need for the successful sampling. Once you are ready to collect a sample, it is time to assemble a sampling train. Please note that model of a pump or colour of a sampling tube on the image below can be different from instruments that you received with your kit.
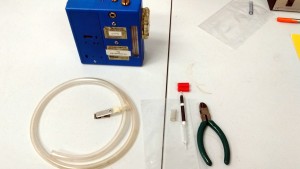
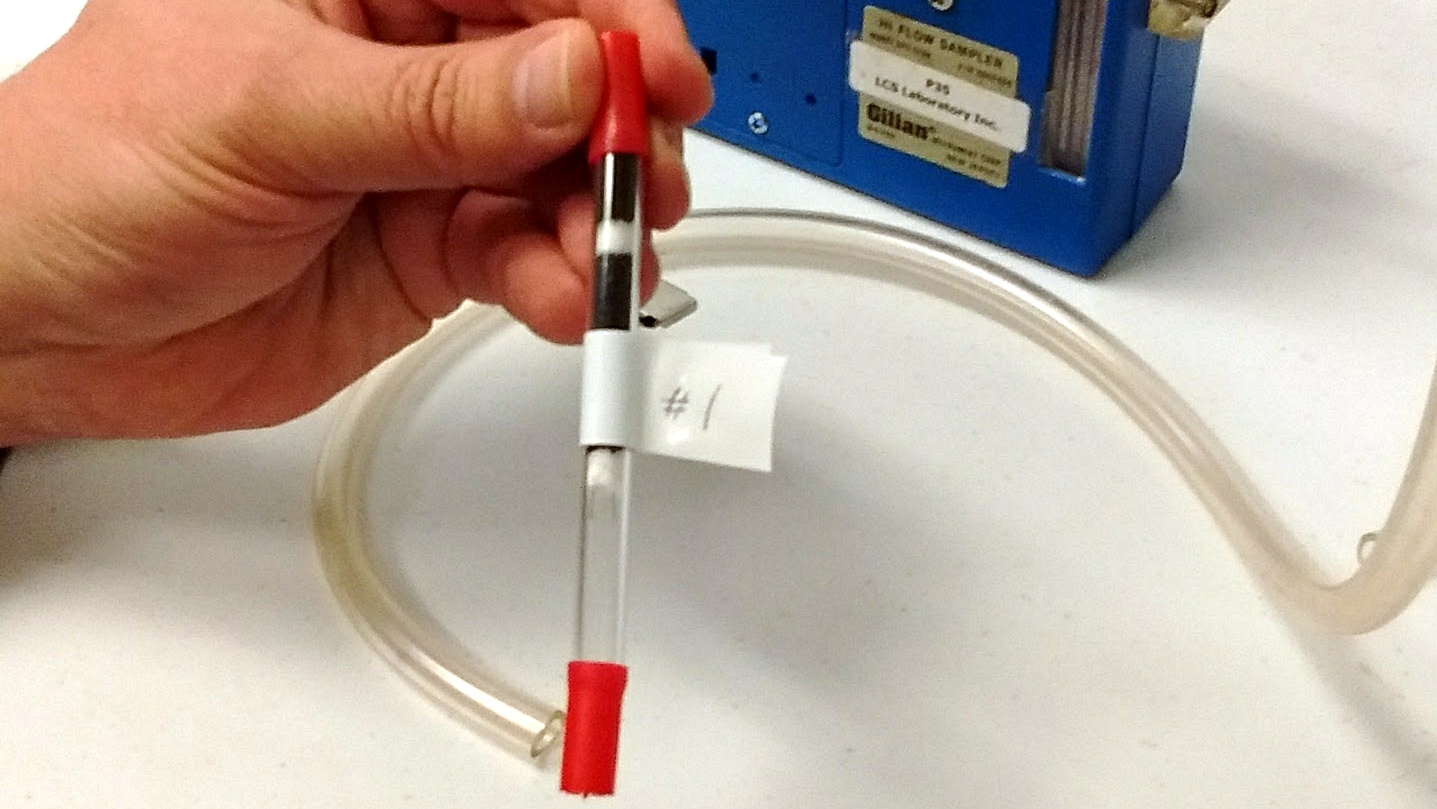
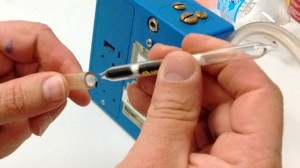
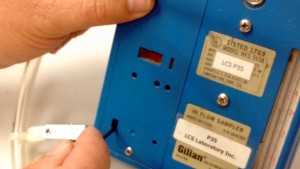
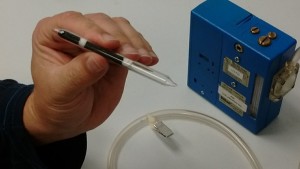
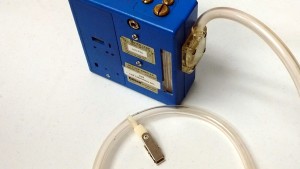 In order to collect a sample you need an air sampling pump, flexible tygon tubing, an adsorbent tube (on this image it is a black charcoal tube), a sidecutters, 2 red cups to close the tube after sampling, a Ziploc bag for garbage, and a small piece of tygon tubing that we call an “end-tube”. Start preparation by attaching the hose to the pimp (right image).
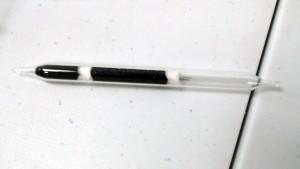
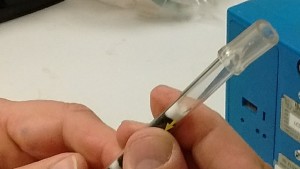
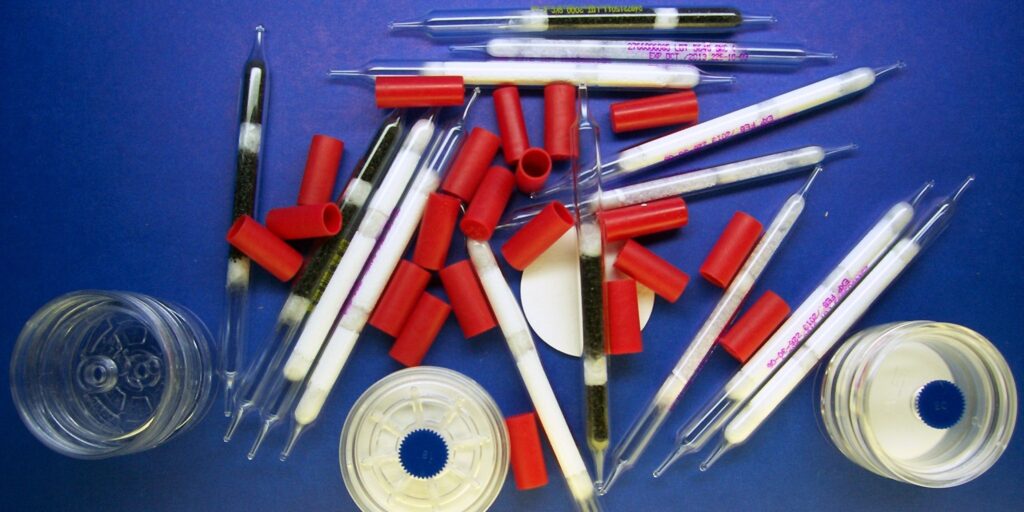
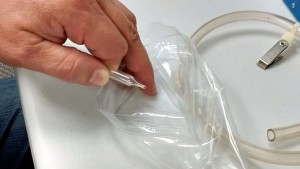 Now take a look on the sampling tube (adsorbent tube). It has two adsorbent layers: a long one (on the right end of the tube above) that is called a Front Section and the short layer called Back Section. When you collect the sample, air is sucked through the tube bu the sampling pump and vapours are collected on the front section of the tube. The back section is served as a backup and quality control measure to ensure that all vapours are captured. During sampling, the Front section of the tube faces ambient air that it collects, and the back section of the tube is connected to the pump. The tubes are factory sealed. You open them buy breaking the ends right before sampling. To break the tube, place the end of the tube over a garbage bag to capture small pieces of broken glass.
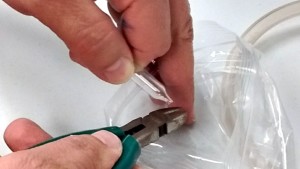
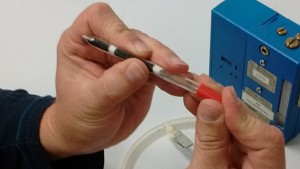
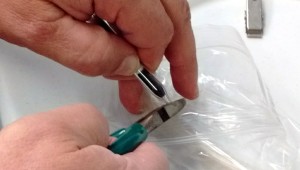 Break both ends of the adsorbent tube with sidecutter or any appropriate instrument. Do it in a safe way. Wear safety glasses.
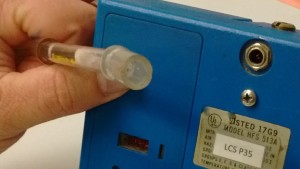
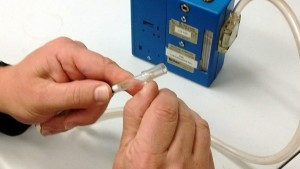
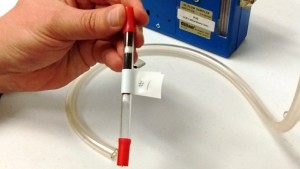
Insert the back section of the adsorbent tube into the tygon tubing connected to the pump.
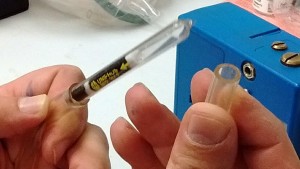
Place the “end tube” on the front section of the adsorbent tube to cover sharp ends of the glass tube. Your sampling train is ready.
Turn the pump on and start collecting the air sample. Make sure that you know how long the sample can be collected. If you collect very short sample, the sensitivity can be poor. If the sample is too long you can exceed capacity of the sampling tube. If you are not sure, please ask the lab. Please keep the record on: Where was the sample collected, when you started the sample, at what time did you finish sampling, what is a pump ID, what is the tube ID?
Once the sampling is complete, turn the pump off, disconnect the the tube and remove the “end-tube”
Close the tube with red cups, and label the tube. Congratulations. You completed the sampling. Complete a request for analysis form and send it to the lab with your samples
Please contact us if you need air sampling equipment or laboratory testing of your samples.

