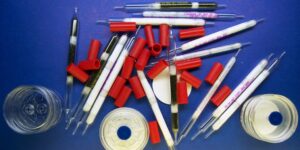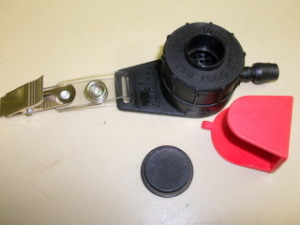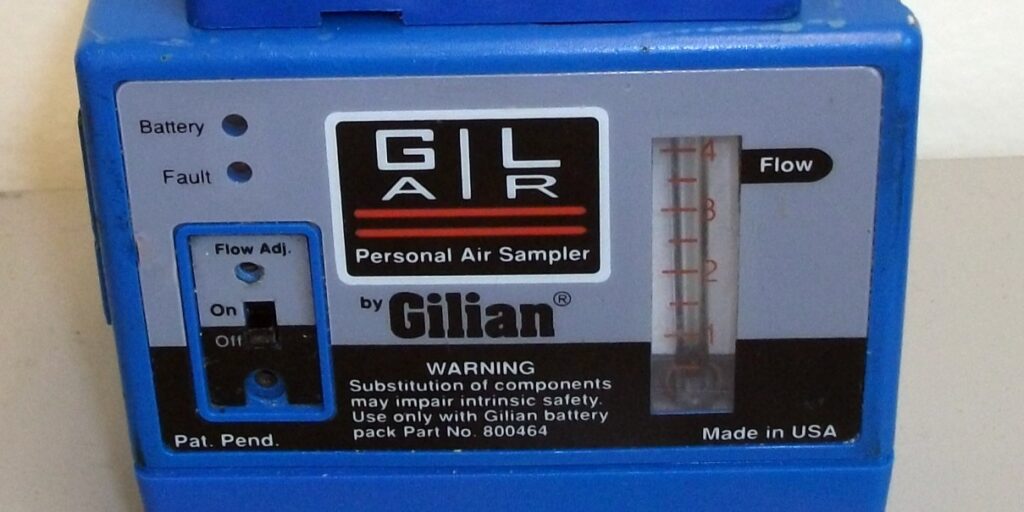
LCS Laboratory Inc. provides a variety of air sampling kits and rental equipment designed to meet your industrial hygiene needs. To support accurate sample collection, we’ve prepared step-by-step instructions on how to properly connect 37mm air sampling cassettes to personal sampling pumps, ensuring effective sample capture and minimizing potential loss.
How to Connect a 37mm Air Sampling Cassette to a Pump
Understanding the Cassette Components
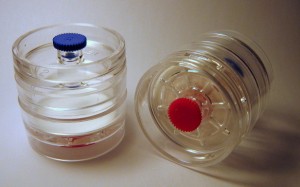
Each air sampling cassette has two distinct ends:
- Inlet (Blue Plug): This end faces the air source and allows ambient air to enter the cassette, capturing dust on the internal filter membrane.
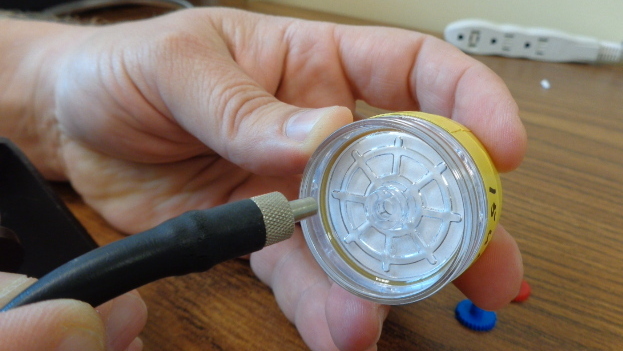
- Outlet (Red Plug): Recognizable by a “wagon wheel” air channel pattern, this end connects to the pump.
The inlet is the active side exposed to the air sample, while the outlet is where the pump tubing attaches.
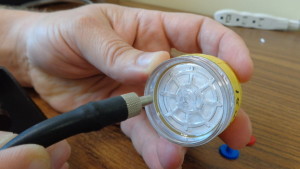 Step-by-Step Connection Instructions
- Identify the Outlet End
Locate the outlet side (red plug with “wagon wheel” pattern) of the cassette. - Connect Tubing to the Outlet
Attach the pump tubing securely to the cassette’s outlet end to ensure proper air flow through the cassette and onto the filter membrane. - Verify Connections
Confirm that the tubing is firmly connected to avoid air leaks, as leaks could reduce the accuracy of the sample collected.
This setup method applies to all standard air sampling cassettes and pumps to help maintain sample integrity during collection.
LCS Laboratory maintains a large inventory of air sampling pumps, cassettes, and holders to support a wide range of air sampling projects. Contact us via email to discuss your next sampling project or to learn more about our equipment options.

